Dads in kitchens everywhere are finding There’s a Dad in the
Kitchen. Hits to the blog are
continuing to increase, but the most noteworthy indicators, at least to me, are
the Google searches that are ending up at TADITK.
For example, the following search words all led people to There's a Dad in the Kitchen:
“browning 1 lb. of
ground beef in a frying pan” – Can you think of anyone other than a
desperate dad searching for this on the Internet? “Let’s see. She
said to brown the ground beef. How
do I do that?”
Or:
“easy sure fire pie
crust” – If it was just “easy pie crust,” it could have been anyone, but
“sure fire?” That had to be
a dad.
How about?:
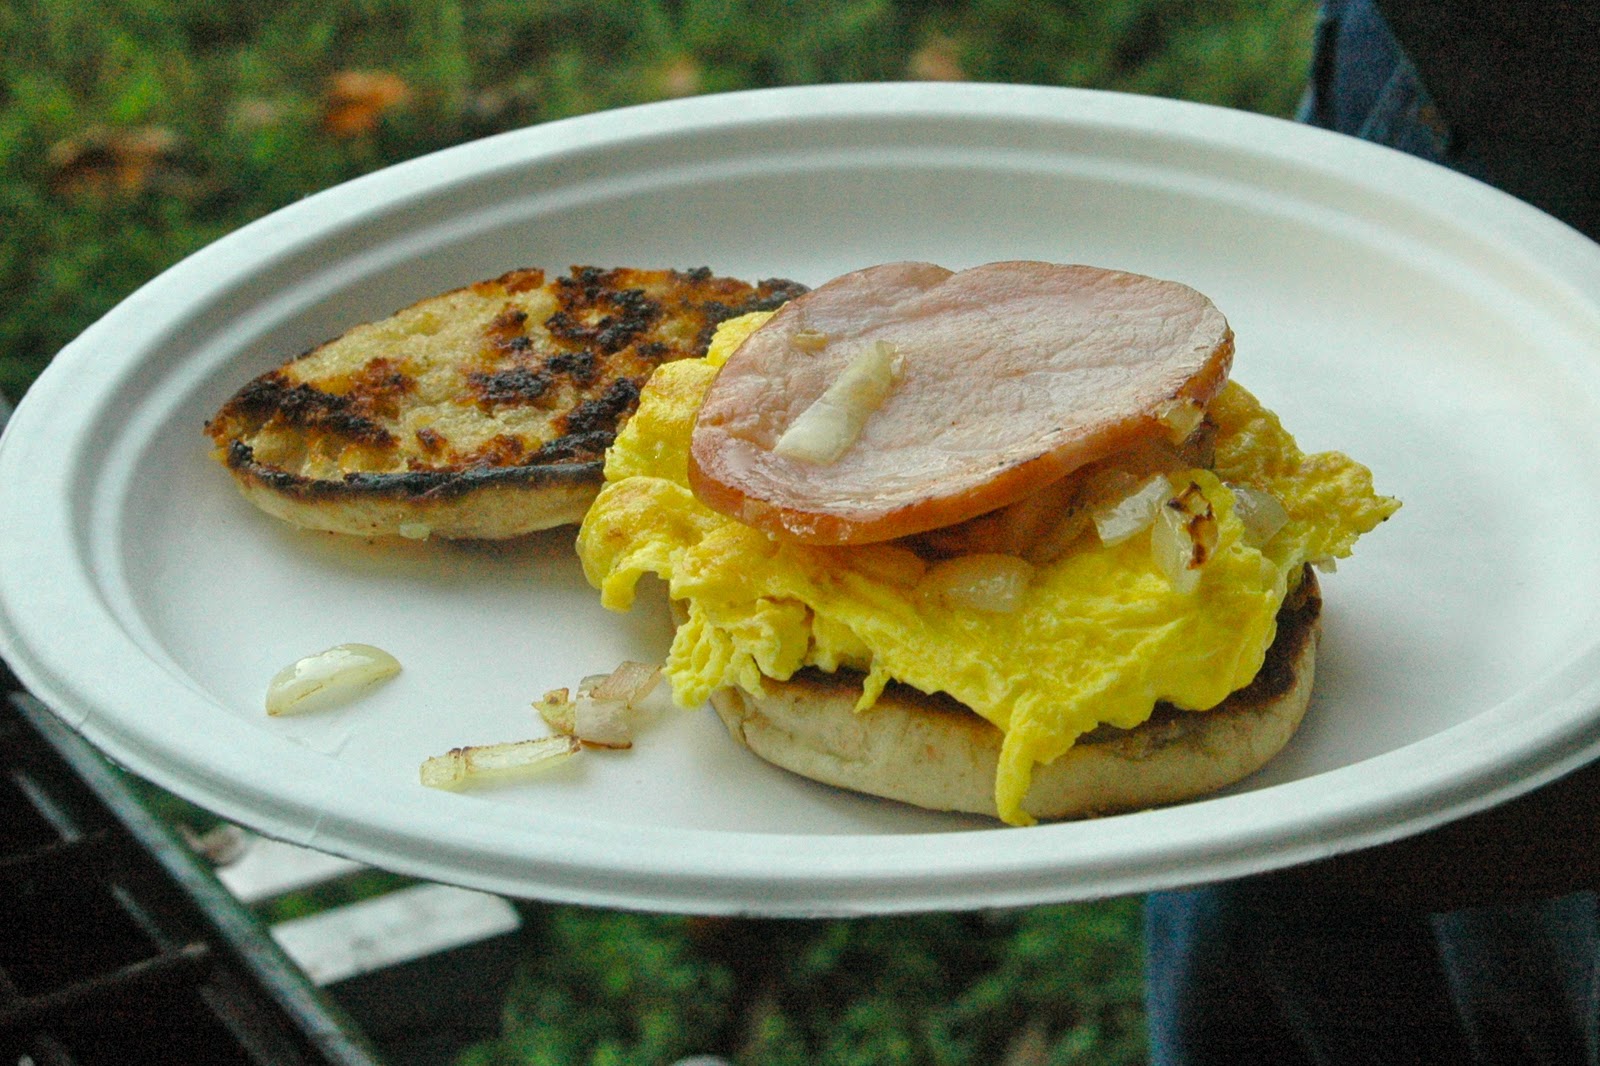
“best breakfast for
dad to make kid” – Obviously, a dad, frantic to serve something other than
cereal for breakfast, (upon finding that the milk has expired, of course).
For me, this was the clincher:
"bad school cafeteria
style grilled cheese sandwiches" – Had to be a dad. Whoever it was, he had
persistence. I tried the same
search and the TADITK blog was not in the first 200 results!
And just this week, there were 9 hits alone on Beefaroni. I’d like to think that at least half of
them were dads.
I’m continuing to love the Alpha Course cookbook. The Tuesday night meal team at PFC continues
to cook for about 50 people, and last week was the first time I utilized an
Alpha recipe without finessing it.
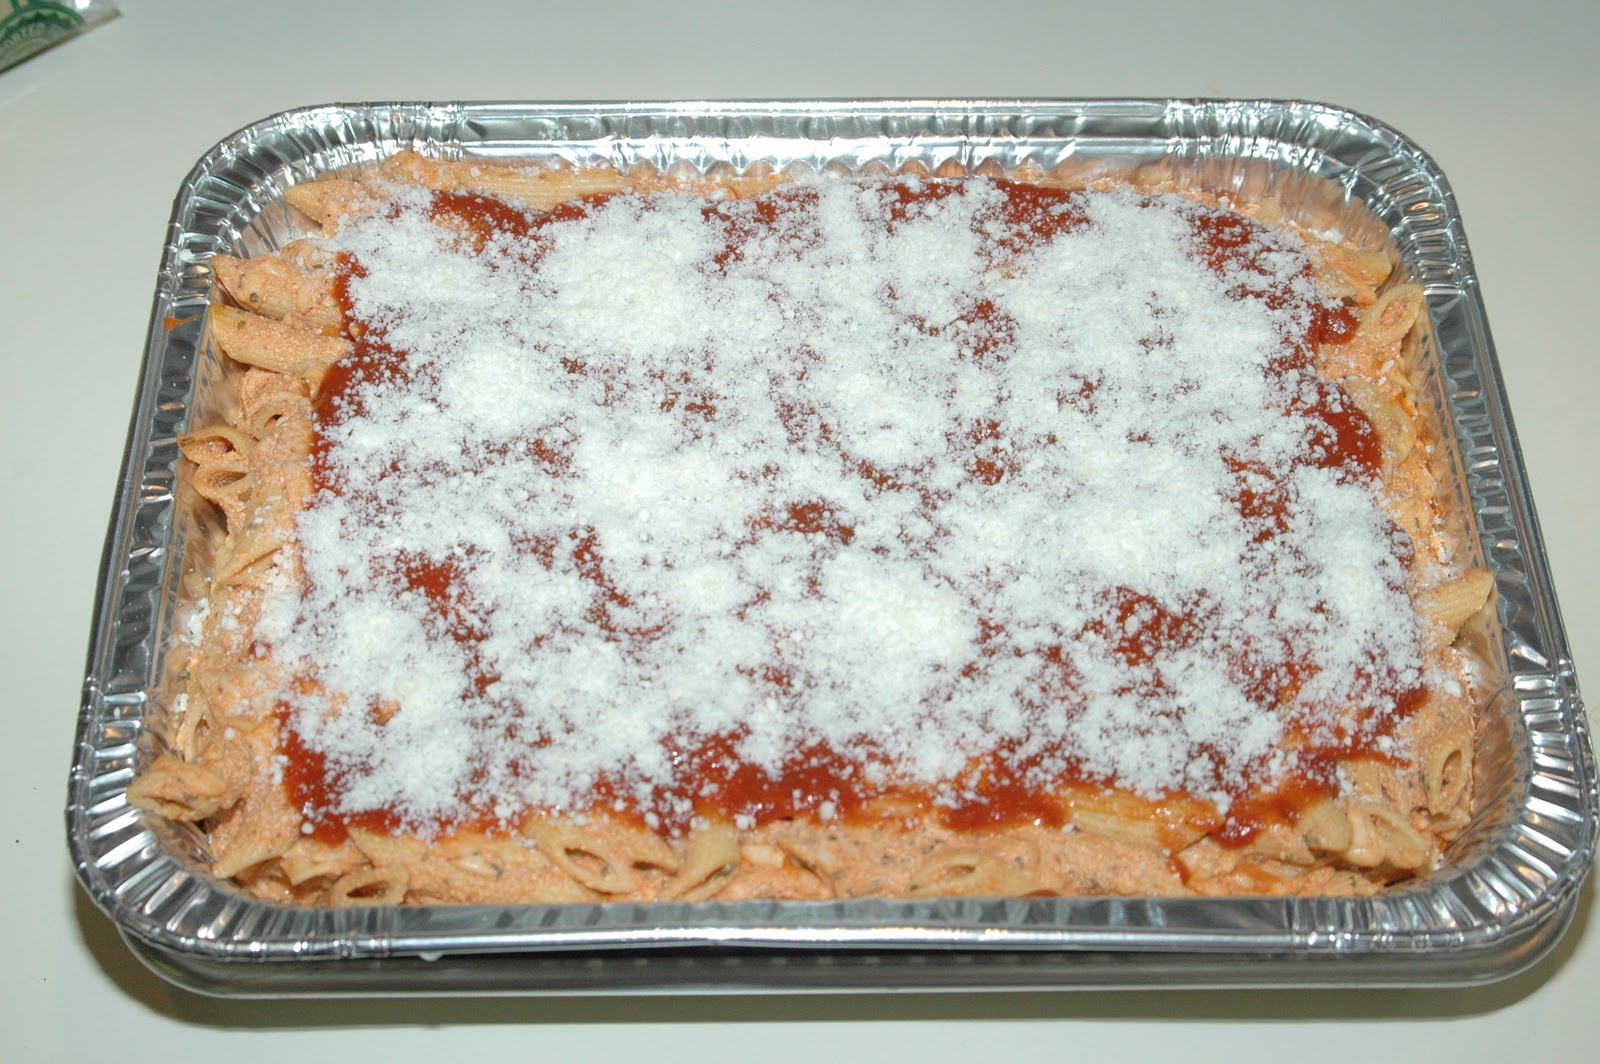
This week’s post captures comfort food at its finest: Spaghetti Casserole.
SPAGHETTI CASSEROLE
(click on any picture to enlarge)

While not a meatloaf-and-mashed-potatoes kind of comfort
food, spaghetti casserole is still an entrée that leaves you filled, and with a smile on your face…and isn't that what comfort food is all about? As Sam Cornish once described a similar food, “It slides down pretty easy!”
Ingredients:
1 lb. box spaghetti
2 medium onions, chopped
1 garlic clove
2 to 2¼ lbs. lean ground beef
1 jar (approx. 25 oz.) spaghetti sauce
1 teaspoon dried oregano
¾ teaspoon salt
½ teaspoon black pepper
2/3 cup butter
2/3 cup all-purpose flour
1 quart milk
2½ cups shredded Mozzarella cheese, divided
1 cup shredded Cheddar cheese
Directions:
Make the pasta according to package directions, using lightly salted
boiling water. Follow the directions for an al dente level of
doneness. Mix with a little olive
oil to keep spaghetti from sticking.
In a large frying pan or electric frying pan, sauté the onion and garlic
in a little butter or olive oil until soft. Remove from the pan. Add the ground beef and cook until lightly browned. Drain excess fat. Add spaghetti sauce, oregano, salt, and
pepper. Simmer over low heat for
20 minutes.
Preheat oven to 350°.
Make the cheese sauce by first making a simple white sauce. Melt the butter in a 2 quart or larger
saucepan, and gradually whisk in the flour to ensure there are no
lumps. Slowly add the milk,
stirring constantly. Cook over
medium high heat, continuing to stir until the sauce simmers and thickens. Stir in 2 cups of the Mozzarella
cheese, and a little salt and pepper, to taste.
Prepare the casserole as follows:
 |
| Ready for the cheese sauce on top |
Place half of the spaghetti on the bottom of a large oven-proof casserole or lasagna dish. Layer half of the meat mixture on top, and repeat layers. Pour the sauce over the top of the casserole and sprinkle with the remaining ½ cup of Mozzarella and the shredded Cheddar.
Bake at 350° for 30 minutes, (longer if casserole has been prepared in
advance and refrigerated), until the top is lightly browned and bubbly.
 |
| It must have been good! |
GARLIC BREAD

Garlic bread goes with Spaghetti Casserole perfectly.
Ingredients:
1 large baguette (French bread stick, approx. 30” long)
¼ cup butter
¼ cup margarine
2 garlic cloves, crushed
½ teaspoon oregano or basil
¼ teaspoon salt
¼ teaspoon black pepper
Directions:
Preheat oven to 400°.
Place all ingredients in a bowl and blend together with a
rubber spatula. Slice the bread in
half lengthwise (not all the way through) and spread the garlic butter generously
on one side using the spatula. If there is butter
leftover, continue spreading on the other side. Close the bread and cut the loaf into 1” slices (all the way
through). Wrap the whole baguette
in foil, keeping the slices closed, and place in the oven for 15-20 minutes.
BROCCOLI SALAD

If you’re looking for something to complement the spaghetti
casserole, try this broccoli salad.
This recipe calls for Mandarin oranges. We had just served them the
previous week, and decided to leave them out. Also, the original recipe called for almost twice the sugar. It was so much that it literally did
not completely dissolve! Many
people, especially the kids, loved
it. Look at it this way: It’s one way to get kids to eat
broccoli. It really was way too sweet, so the sugar is reduced
in this recipe. Keep in mind that the pictures below reflect preparation for 50 people.
Ingredients:
Approx. 1¼ lbs. broccoli crowns
8-10 strips bacon or equivalent bacon bits
½ red onion
1 cup dried cranberries such as Craisins® (raisins can be substituted)
½ cup sunflower seeds
2 cans (11 oz.) Mandarin oranges (optional)
For the dressing:
12/3 cups mayonnaise
1½ teaspoon vinegar
½ cup granulated sugar
Directions:

Cook the bacon until it’s crisp, drain on paper towels, and crumble, (or
use bacon bits).

Cut up and trim
broccoli into bite-size pieces.
Chop the onion. Add all
salad ingredients and toss in a large bowl. (Mandarin oranges are optional.)

Prepare the dressing by combining the three ingredients, whisking
thoroughly. Add dressing to the
salad and toss thoroughly. It is
best to prepare the salad at least an hour in advance, tossing it several times
while keeping it refrigerated. If
preparing more than an hour in advance, add the sunflower seeds and Mandarin
oranges just before serving. Toss
salad one final time just before serving.
Enjoy!